
In this article, we give you Best Tips To Become A Windows Power User. Want your Windows 10 to do the task for you efficiently? If that is the case, be the Power User and perform all tasks except those reserved for Administrators. This means by being a Windows Power User; you can:
- Create local user accounts.
- Modify user accounts created by Power User.
- Install and run applications without interfering with your computer’s
Besides this, there are various other operations that a Windows Power User can perform. Some features might be too sophisticated for a novice, but some will surely make life easy for advanced users. Here we bring for you some tips and tricks to become a Power User and enhance productivity.
Best tips & tricks for Windows Power User
Since you are here to know about the benefits of being a Windows Power User, you must have an idea about the Power User menu, right? The menu that appears when you press Windows + X or right-click the Start menu is Power User Menu.
Enough of knowledge check, now let’s come to the point.
1. The Volume Mixer
Though an old feature, many people miss out on this feature. Using the Volume mixer, you can adjust the volume for different applications and change the volume output.
Moreover, using it, you can mute the volume. To use Volume Mixer, follow the steps below:
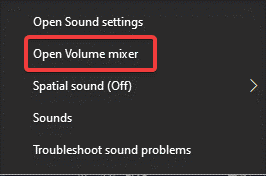
1. Right-click the volume icon and select Open Volume Mixer.
2. Use the volume slider to increase or decrease the volume. To mute, click the volume icon below each application. This will mute voice for the particular application.
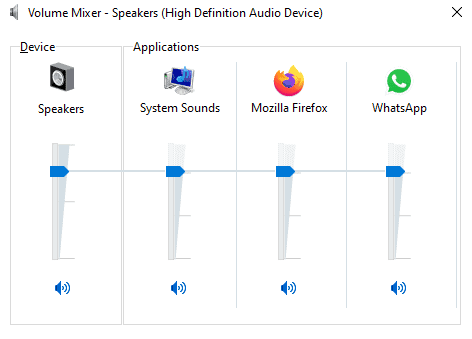
This way being a Power User, you can adjust the volume for different applications.
2. Make Command Prompt Transparent
Do you often use Command Prompt but don’t see what happens in the background? Don’t you worry, use this trick and make Command Prompt window transparent. This will help see what’s going on in the background. To do so, follow the steps below:
1. Tap Windows + R to open the run window
2. Type cmd > Ok
3. Type the command you want to execute. (If you just want to see if the trick works, don’t enter any command)
4. Just hold down the Ctrl + Shift keys and scroll the mouse to set the transparency level.
![]()
Alternatively, press Ctrl + Shift and use the – key to get the same effect.
3. Use Run Command
Another nifty yet effective Windows tool that allows users to access Windows settings and open applications quickly is the Run command. By pressing Windows + R, you can access the Run window & enter any command to launch or access the apps you want.
The short commands you enter in the Run window help open Device Manager, access Command Prompt, network properties, Windows version, and more.
4. Run your favorite program on startup
Applications like antivirus and others automatically add themselves to the startup. But if there’s any specific application that you would like to run automatically at boot time, follow the steps below:
In addition to this, you run scripts using the steps explained below:
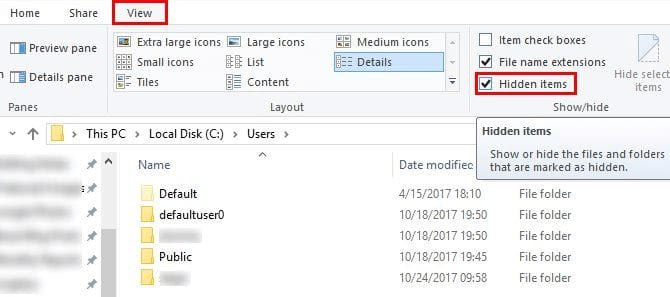
Before we move ahead, ensure the view hidden folders and files option is enabled.
Open File Explorer > View tab > under Show/hide, check the box next to Hidden items.
Now, follow the steps to add an application and make it run at Startup.
1. Open File Explorer and head to – C:\Users\YourUsername\AppData\Roaming\Microsoft\Windows\Start Menu\Programs\Startup
2. Copy & paste the shortcut of the program you want to run at startup.
3. Reboot the system and get the added application running at boot time.
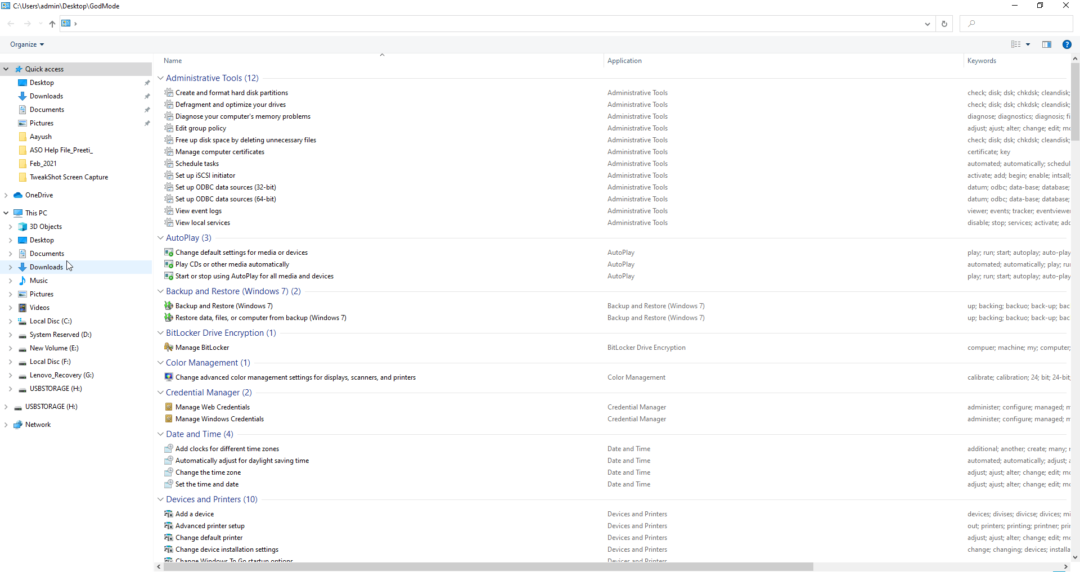
5. Accessing Windows Settings Via God Mode
If you’re looking for an alternative to Control Panel to access Windows settings, you have it as a Power User. Wondering how’s that possible?
Well, by using God Mode, you can gain access to all Windows Settings in one place.
God mode or Windows Master Control Panel shortcut is a way that allows you to create a shortcut for all control panels of the operating system.
To use it, follow the steps below:
1. Right click on the blank area on the desktop.
2. Select New > Folder from the context menu.
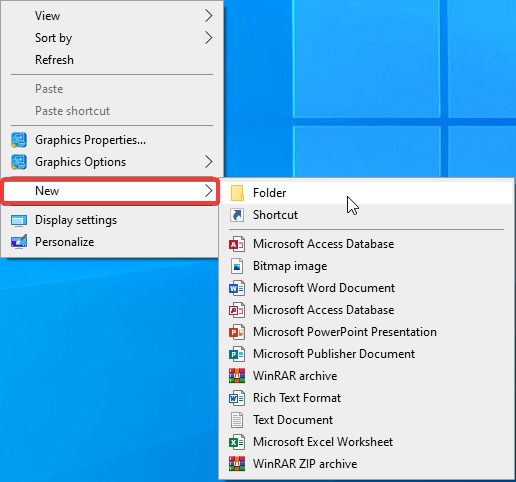
3. Rename it to – GodMode.{ED7BA470-8E54-465E-825C-99712043E01C}
4. The folder will change into a Control Panel icon, as shown in the screenshot below:
![]()
5. Double-click the folder to access Windows settings without heading to the Control Panel.
6. Open Computer Management
Access Device Manager, Windows Services, and Disk Management all in one place via the Computer Management interface. This will save you from opening different utilities to perform different tasks. Moreover, you can keep an eye on system resource consumption like RAM, Disk Usage, in, and Processor.
To open Computer Management, follow the steps below:
1. In the Windows search bar, type Computer Management.
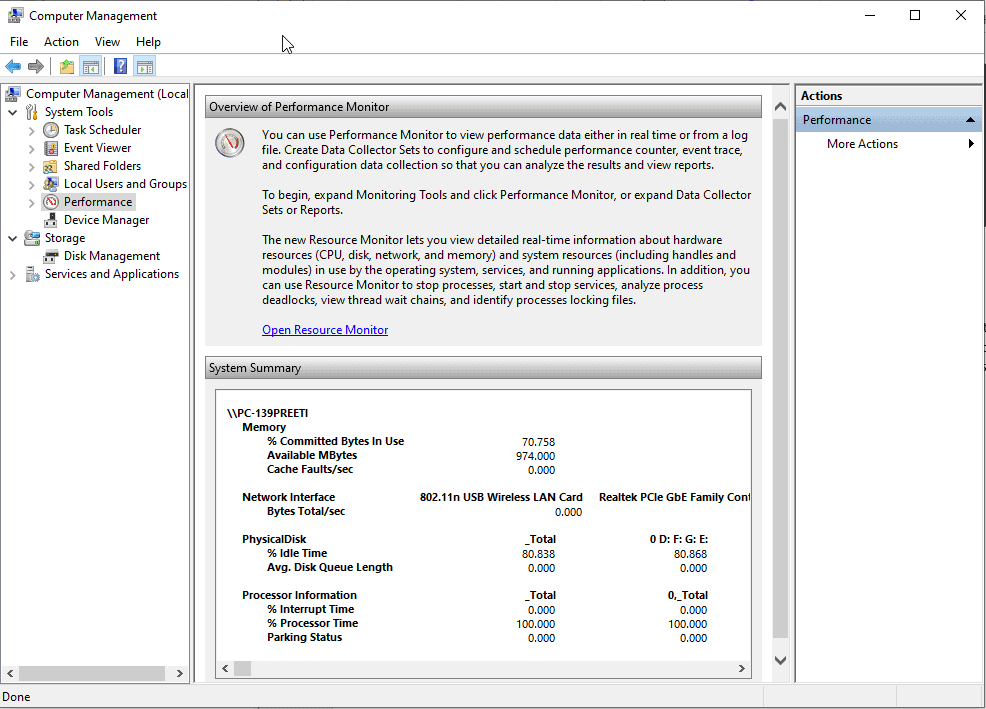
2. Now, from the left pane, use various settings to access different Windows features.
3. This way, you can access all things in one place, being a Power User.
7. Use Windows Services Menu
Services are applications that work in the background and helps in the smooth functioning of Windows. You can get information about them from the Task Manager (Ctrl + Shift+ Esc) > Services tab.
Yet sometimes, when a service stops running, you encounter an error message or want to close services eating system resources, you might want to access the Windows Services menu.
To do so, follow the steps below:
1. Tap Windows + R to open the Run window
2. Type services.msc > Ok
3. This will open the Services window. From here, by right-clicking on any service, you can Start or Stop it or can Disable it to run automatically.
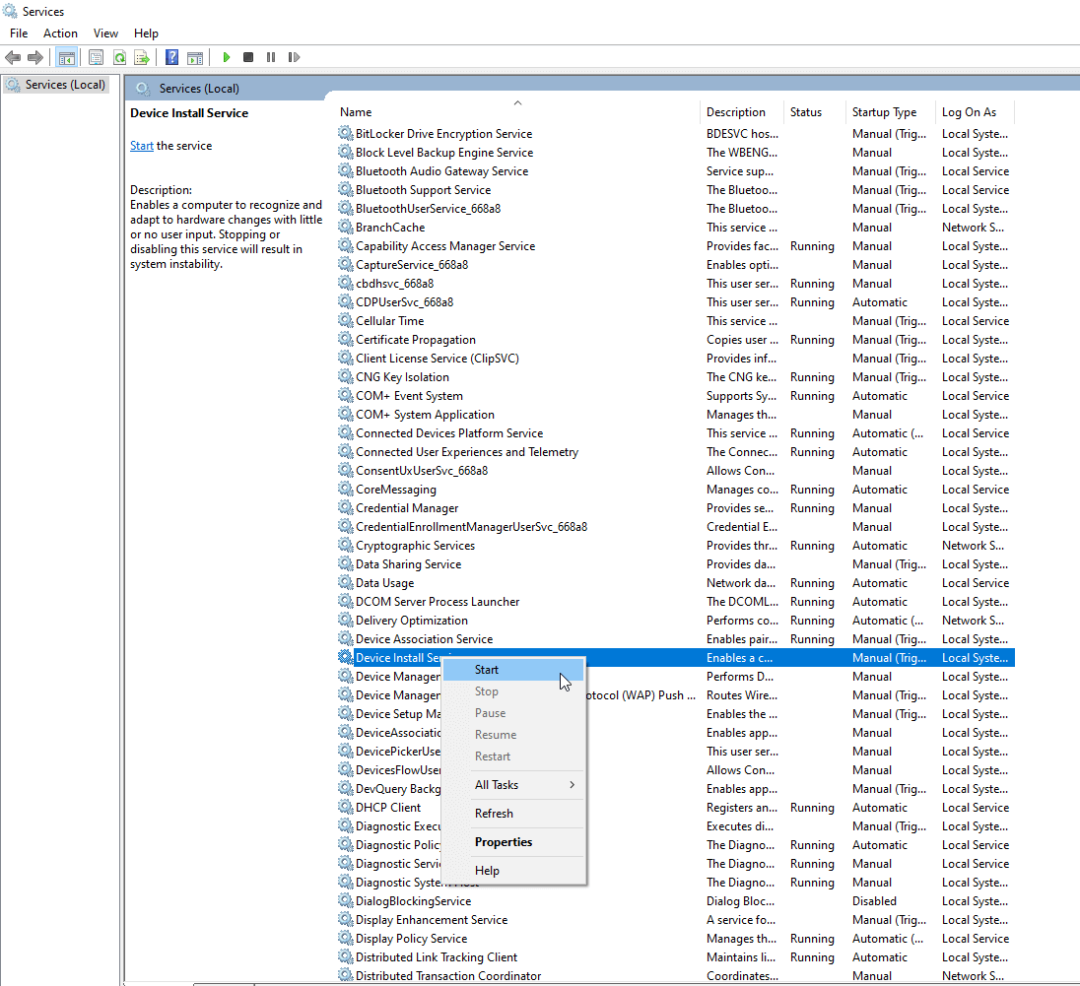
4. This way, by being a Power User, you can access Windows services and manage them.
Also, Check :
Be a Windows Power User
Using these simple steps, you can be a Windows Power User and get the most out of your Windows 10. Also, you can make your everyday working on Windows easy and enhance your Windows experience.
We hope you enjoyed the article, do share your thoughts and feedback in the comments section.