This article is regarding how you can Uninstall Snap Camera In Windows. Well, Playing around with Snapchat’s Snap Camera cool filters is fun. But when hosting or attending a business meeting, these fun filters pop up; you get uncomfortable. The great news is now no longer need to struggle with this issue. In this post, we will see how to uninstall Snap Camera and get things back to normal.
Therefore, without any further delay, let us come to the point.
Simplest Ways to Uninstall Snap Camera in Windows
Note: Before following any information to remove the Snap Camera, ensure it is not running on the system, as this will interfere with the process.
-
Remove Snap Camera from Mac
Steps to remove Snap Camera from Mac
1- Move to the Applications folder
2- View for Snap Camera app > right-click it > Move to Bin
3- When prompted, enter Apple password > Ok
4- Wait until you notice the dialogue box as shown in the screenshot below:
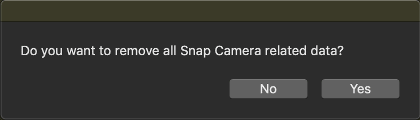
5- Tap Yes and restart your Mac.
Snap Camera will be removed. Nevertheless, if you still see the virtual camera as an option in other applications like Chrome, Google Meet, etc. it shows some of its references are still on your Mac. To remove them, follow the actions below:
1- Start Terminal from Utilities folder
2- Copy & paste the following commands in Terminal Window:
- launchctl remove com.snap.AssistantService
- rm ~/Library/LaunchAgents/com.snap.AssistantService.plist
- rm -r ~/Library/Caches/Snap/Snap\ Camera
- rm -r ~/Library/Preferences/Snap/Snap\ Camera
- osascript -e 'do shell script

"launchctl remove com.snap.SnapCameraRemover; rm

/Library/LaunchDaemons/com.snap.SnapCameraRemover.plist; rm -r

/Library/CoreMediaIO/Plug-Ins/DAL/SnapCamera.plugin; exit 0" with

administrator privileges'
3- Tap Enter key and enter the password when asked for
4- Restart your Mac; you should no longer view the Virtual Camera option.
-
Using Windows Uninstaller
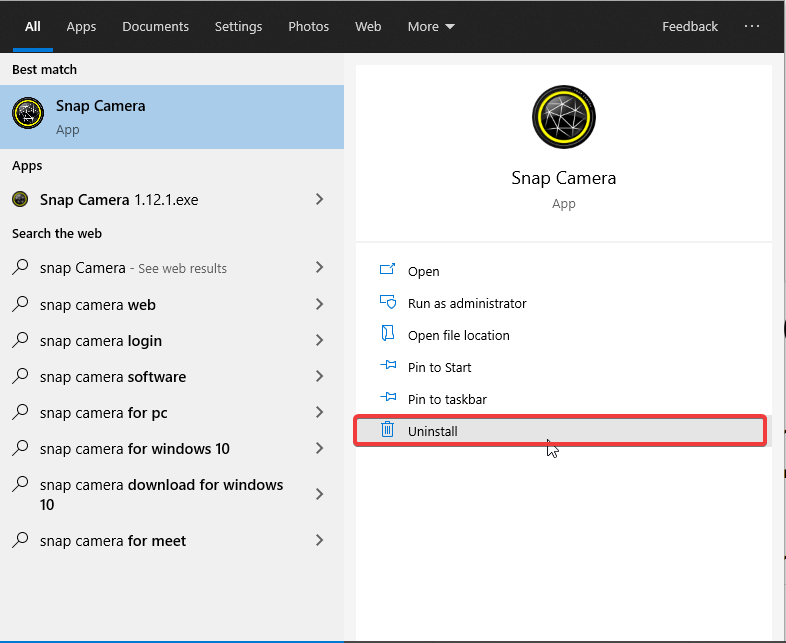
1- In Windows search bar, type Snap Camera
2- Choose the search result and hit the Uninstall option present in the right pane.
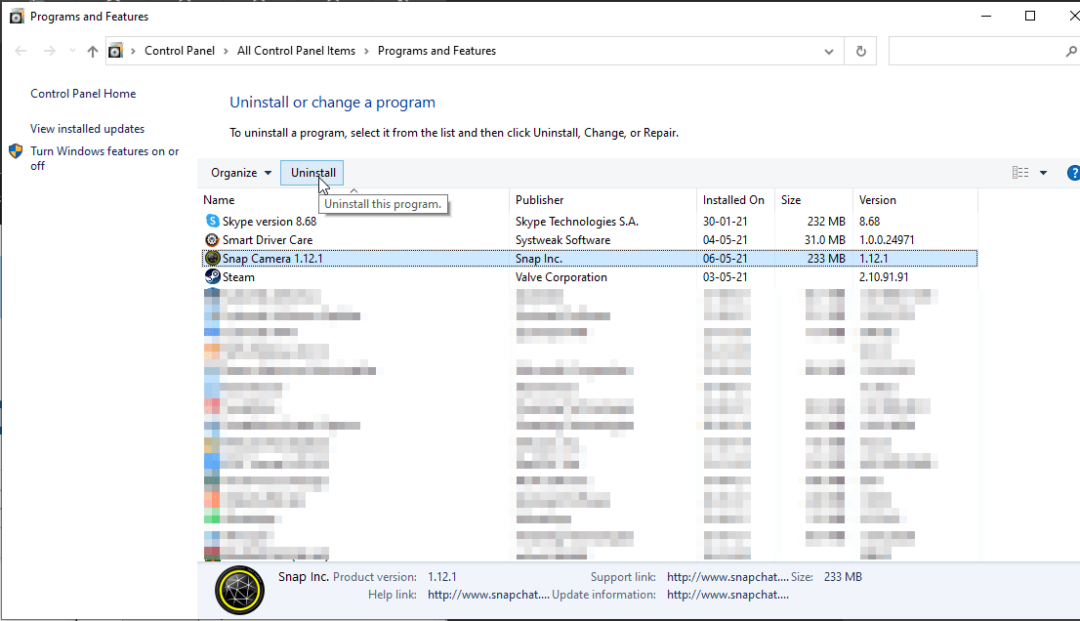
3- This will start the Programs and Features window
4- View for Snap Camera > Uninstall
5- Based on your system’s configuration, you might see a UAC confirmation box; tap Yes to proceed.
6- Restart the system to apply changes.
Doing so will uninstall Snapchat’s Snap Camera operating on your Windows.
However, here’s a catch even after uninstalling Snap Camera, some users state the app doesn’t go away. If you’re likewise facing the same issue, you need to use a third-party uninstaller.
Certainly, the fastest way to remove an app from your Windows is to head to Programs and Features and delete it. However, sometimes this leaves app traces due to which you face problems. Hence, to deal with this problem, using third-party app uninstallers is suggested.
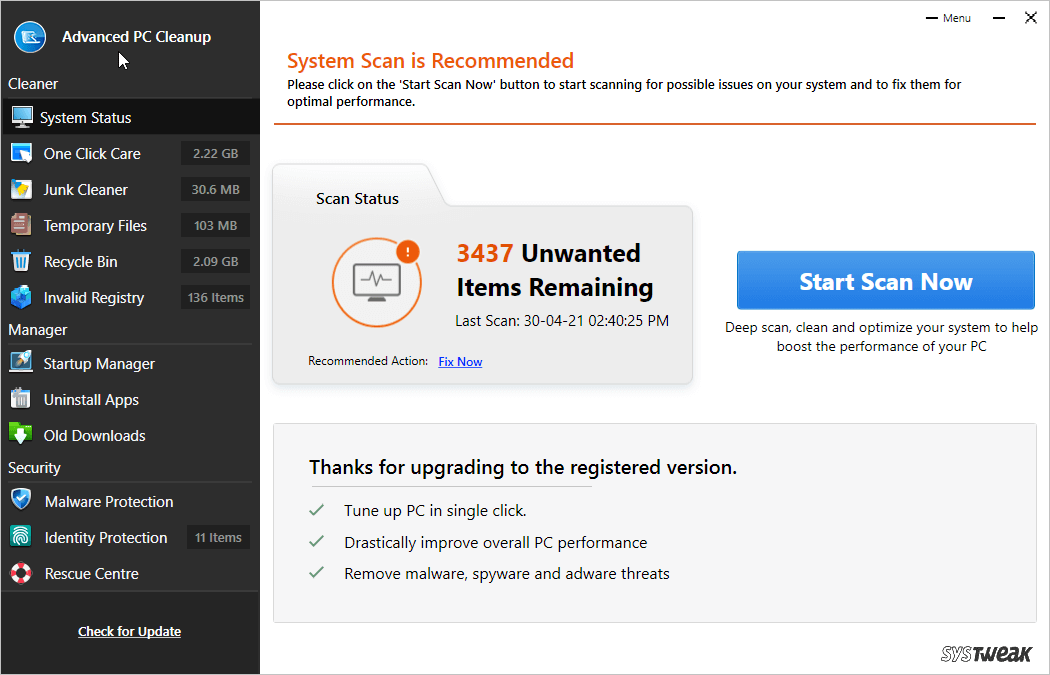
For this, we recommend using Advanced PC Cleaner, an all-in-one PC optimization tool that not just helps uninstall unwanted apps but does a lot more like:-
- Emptying Recycle Bin
- Optimizing PC to improve performance
- Managing Startup items and a lot more.
- Clearing junk files
- Eliminating temporary files
- Old Downloads
- Examining the system for malware infections and removing them
- Fixing invalid registry entries
- Protecting Identity exposing traces
This expert PC cleanup tool is light on system resources and performs all the tasks in one click. Nevertheless, if the user wants, can run each module individually.
Available as free and paid versions, this tuneup utility eradicates the need to install standalone applications to do various tasks. Moreover, utilizing the Uninstall Apps module, you can delete applications without leaving any leftovers.
-
Snap camera uninstall using a third-party app
Using Advanced PC Cleanup to uninstall Snap Camera
1- Download & install Advanced PC Cleanup.
2- Launch the PC cleaning and optimization tool
3- Tap Uninstall Apps from the left pane.
4- Wait for it to examine the system for installed apps.

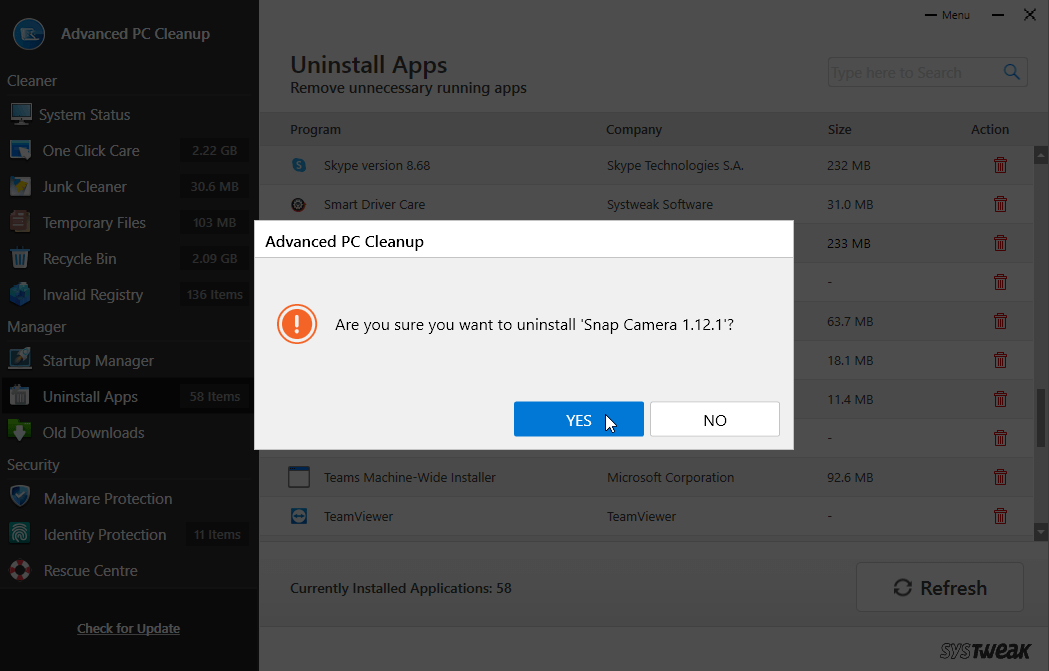
5- Scroll down the list of installed applications to look for Snap
6- Select it and tap the Trash bin icon to get Snap Camera uninstalled.
![]()
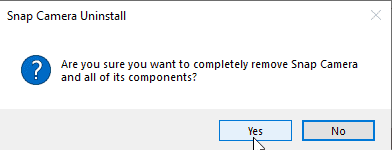
7- Confirm the action by clicking Yes
8- Tap Yes to complete the uninstallation process.
9- Wait for the process to finish
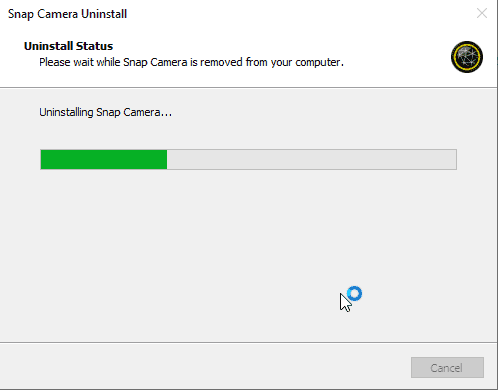
10- Once done, you’ll get a screen to uninstall the confirmation message.
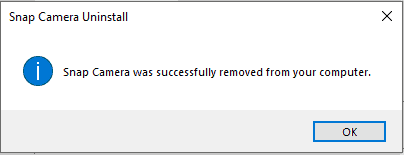
11- Tap Ok and restart the system.
That is it Snap Camera, along with its filters and other identical files, is now removed from the system. No longer will it interfere with applications like Zoom, Google Meet, and others.
Also, Check :
Conclusion Of Uninstall Snap Camera in Windows:
We hope using the steps described above, you can remove Snap Camera from your PC and Mac. In this article, we suggested using a third-party app to uninstall Snap Camera in Windows or Mac to save yourself from the problem of the Snap Camera app overlapping on other apps.


