
An electronic signature is a newer practice. Instead of a traditional “wet signature,” electronic signs, symbols, and even noises can now be used to validate a document. Unfortunately, Microsoft Word does not offer many built-in capabilities for creating e-signatures. On the other hand, the word processor provides a large selection of extensions and apps that you may use instead. This tutorial will demonstrate how to insert the signature in Microsoft Word and how e-signing works.
How To Easily Insert Signature In Microsoft Word?
The good news is that electronic signatures can be added to Word documents. The bad news is that they can only be attached as image files. Here’s how to use the built-in capabilities of Microsoft Word to insert your signature:
1 – On a piece of paper, sign your name.
2 – Record the document with a scanner or camera. Upload it to your PC and save it as a .jpg, .gif, or .png file.
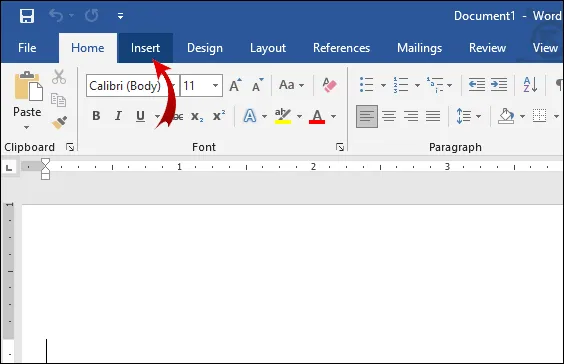
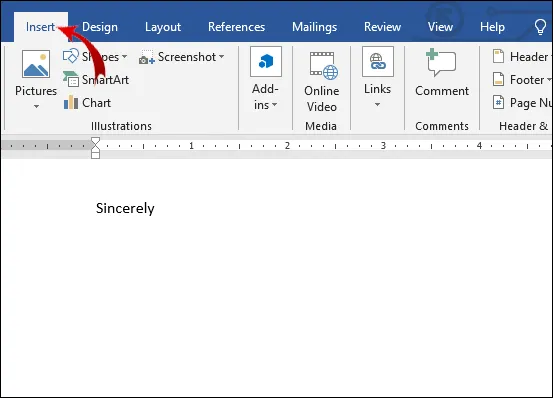
3 – Launch the Microsoft Word document. Navigate to the “Insert” section of the top-level menu bar.
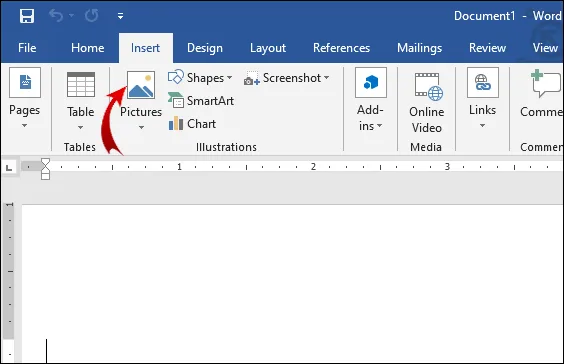
4 – To open a new window, click on “Pictures.” Next, enter the file’s name in the dialogue box to locate the scanned signature on your local disk. Then, click to add it to your document.
5 – If the signature is too large, change it. A new “Picture Tools” section will display if you click on the image. To resize, go to the “Format” tab and click “Crop.” You may also manually input the height and width into the little dialogue boxes on the right.
You may use the Quick Parts tool to incorporate more information in the signature. Here’s how to go about it:
1 – Write your email address, phone number, or work title beneath the signature image.
2 – Use your cursor to highlight the image and the additional information.
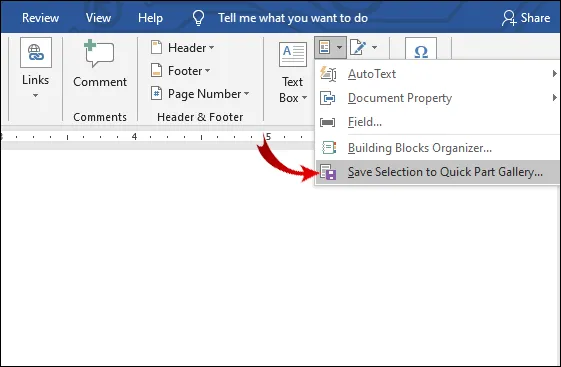
3 – Open the “Insert” section from the menu above. Click the “Quick Parts” tab.
4 – Click the “Save Selection to Quick Part Gallery” choice to open a new window.
5 – Write the title of your signature next to the word “Name.”
6 – Select the “Gallery” option from the drop-down menu. The text should read “Auto Text.” If not, choose it from the drop-down selection.
7 – Complete the process by clicking “OK.”
8 – Now that your signature is complete, place the cursor where you want it to insert.
9 – Select Insert > Quick Parts > Auto Text from the menu.
10 – From the list of blocks, select your signature.
How To Easily Insert A Signature Line?
You may create a signature line for a document you want to print and sign later. Including this line leaves a blank place for a pen signature after printing. Here’s what you should do:
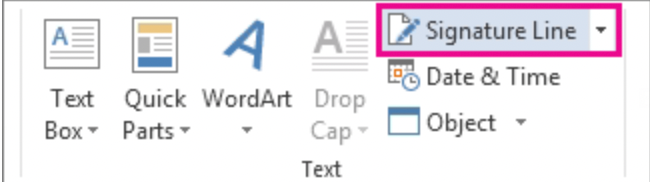
1 – Click Insert.
2 – Click the Signature Line button.
3 – After printing, a line will emerge with a space for your signature.

What Exactly Is Digital Signature?
Digital signatures, unlike ordinary e-signatures, feature an authentication code unique to each individual. The inbuilt encryption ensures the security and integrity of the document. Digital signatures are legally accepted as authentic identities. Of course, this varies based on the regulations of the nation. Digital signatures are widely used in most sectors. For example, they are used by businesses in their corporate ID, email address, and the phone PIN. You may be forced to create a digital signature in your daily life. Here is a list of documents that often require a digital signature:
1 – A real estate agreement (closing contract included).
2 – A mortgage application is number two.
3 – A sales agreement.
4 – A vendor contract.
5 – A contract for hire.
How To Easily Remove Digital Signatures From Word Or Excel?
You may remove the signature from your document and/or spreadsheet in just a few simple steps. Here’s how to get rid of digital signatures in Word or Excel:
1 – Open Microsoft Word/Excel and select the document or spreadsheet that includes your signature.
2 – Move your cursor on the signature line and right-click it.
3 – A drop-down menu will be displayed. Choose “Remove Signature” from the drop-down menu.
4 – Confirm by saying “Yes.”
How To Easily Sign The Signature Line In Word Or Excel?
Microsoft Word has a tool for creating signature lines. They indicate where the document should be signed. To add signature lines to Microsoft Word, follow these steps:
1 – Move your cursor to where you want to sign the document.
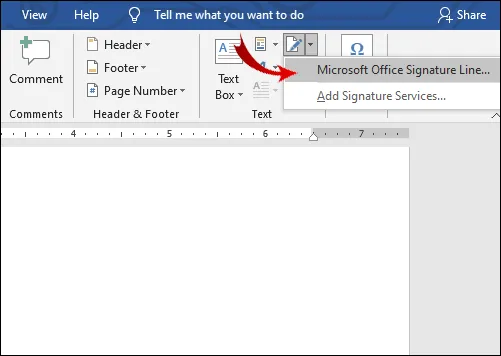
2 – Select the “Insert” section in the menu bar above.
3 – Select Text > Signature Line > Microsoft Office Signature Line from the menu.
4 – A little pop-up window will be displayed. Write in the relevant fields with the signer’s name, title, and (optional) email address.
5 – Click “OK” to confirm.
Here’s how to easily sign the signature line in MS Word or Excel if you’re the signer:
1 – Launch the Word document or Excel spreadsheet. Make sure that editing is enabled. Click “Edit Anyway” if “Protected View” is enabled.
2 – Place your cursor over the signature line and right-click to open up a drop-down menu.
3 – Select “Sign” from the list of options.
4 – Click “Select Image” if your signature is stored as an image. Locate the file on your computer using the “Select Signature Image” dialogue box. To upload it to Microsoft Word, click “Select.”
5 – If you have a printed copy, type your name next to letter “X.”
6 – To insert the signature, click “Sign.”
How To Easily Add A Signature In Word With PandaDoc Add-In?
You can use an e-signing extension instead of a scanner if you don’t have access to one. PandaDoc is a popular add-in owing to its user-friendly interface and extensive tool set. It is available via the Microsoft Azure Marketplace. Here’s how to use the PandaDoc add-on in Word to add a signature:
1 – Start a web browser and navigate to the Microsoft Azure Marketplace.

2 – Find the PandaDoc add-in using the search box. Click the “Get It Now” button beneath the logo to install.
3 – Create an account and grant PandaDoc access to your computer’s files.
4 – Open PandaDoc and upload the Word document.
5 – There are two options depending on who is signing the document. Choose “Self-sign Document” if you are the signer. If not, go ahead and click “Request Signatures.”
6 – Click the “+” button to insert your signature on the right-hand side. Locate the “Signature” section and click to open it.
7 – PandaDoc allows you to draw, type, or upload an existing image for your signature. Select one of the options and then click “Finish Document.”
PandaDoc will automatically preserve your signature so that you can continue using it. Click the “Signature” field and drag it into the document.
FAQs:
Here are some further answers to your queries concerning digital signatures and Microsoft Word.
How To Easily Make An Email Signature In Microsoft Word?
You may create a signature template for your email account with Word. This is a good option if you want more information like your phone number, email address, and current job title. Here’s how to go about it:
1 – Select Insert > Text > Signature Line from the menu.
2 – Enter the signer’s details. Click “OK.”
3 – In the document, tap on the signature line. Select Insert > Picture. Select the image with the signature.
4 – Copy the template and paste it into your email.
You may download more template options to your computer by downloading the Microsoft Email Signature Gallery.
How To Easily Insert A Signature In Microsoft Word For Free?
You may easily insert a signature into Microsoft Word for free using a scanner or a phone camera. First, upload your handwritten signature and save it to your picture. Next, launch the Word document and insert the image using the “Insert” function. Installing add-ons to your browser is another option. The majority of e-signing extensions include a free trial period. Remember to cancel your membership on time, or you will be charged in the following payment cycle.
How To Easily Electronically Sign A Form In Word?
You may use the built-in tools in Word to electronically sign a form. Here’s how to go about it:
1 – Launch the form and put your cursor on the signature line.
2 – Select Insert > Picture.
3 – Look through your files. Choose the image with your signature.
Remember that before you can open the document, you must first upload a picture of your “wet signature.” An add-on can also be used to sign a form electronically. Find one that is compatible with your version of Microsoft Office. If the form is in a PDF document, you must convert it to Word. Here’s how to go about it:
1 – Start your browser and type “pdf to word converter” into the search bar.
2 – Select one of the results. Upload your PDF file and then click “Convert.”
3 – Once the process is complete, download the file.
How To Easily Write My Signature On A Word Document?
A Microsoft Word document cannot write your signature. Unlike other word processors, it lacks an integrated drawing tool that allows you to do so. You must insert your signature as an image if you want it to appear written. Certain add-ons, however, allow you to sign documents using your computer mouse. You may, for example, use the PandaDoc to draw your signature on an MS Word document. Here’s how to go about it:
1 – Launch PandaDoc and open the document.
2 – In the right-hand panel, select the “Signature” button.
3 – When prompted to insert the signature, select “Draw.”
4 – Write your name on the document with your computer mouse.
How To Easily Create A Digital Signature?
Several add-ons and apps allow you to create a digital signature. DocuSign is one of the most well-known. It works with all Microsoft Office apps, including Microsoft Word. Here’s how to use DocuSign to sign documents digitally:
1 – When you need to sign a document digitally, you normally get an email asking you to do so. Open the document in DocuSign after copying the URL.
2 – Accept the Terms & Conditions.
3 – A list of instructive tags will be shown. To complete the process, carefully follow the instructions.
Conclusion:
When establishing an e-signature, Microsoft Word falls short of Google Docs. It has a limited number of built-in features. It is also necessary to have access to a scanner and/or camera. Fortunately, plenty of e-sign add-ons work with Microsoft Office apps. Some extensions, such as PandaDoc, even offer iOS and Android mobile apps. What is the best approach to inserting an e-signature into a Word document? Do you have a favorite app for electronic signatures? Leave a comment and let us know if you know a better way to sign Word documents digitally.


