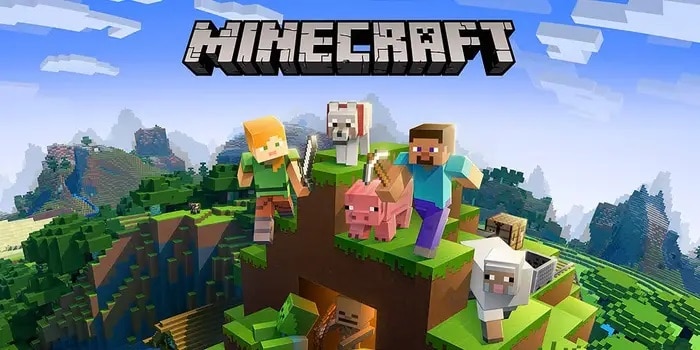
Is there a way to increase the performance of your Minecraft game? Did you know that the Minecraft server doesn’t rely upon the maximum RAM of your system? There’s a specific amount Minecraft consumes and nothing more than that. These values are set according to the version and mod of Minecraft you have. However, you can change these values.
Through modifications, you can Allocate RAM to Minecraft for a non-stop gaming experience. Here you will learn about various methods of carrying the process. Before you get into it, let’s learn the reason to use more Allocate RAM to Minecraft.
Why Does Minecraft Need More RAM?
Minecraft is a highly efficient game that is easy on a system’s specifications. Unlike many graphic-extensive games, it doesn’t require excessive specs or best-in-class GPUs to work well. Like Minecraft Vanilla gameplay, some versions need as low as 2GB of RAM at best to bring you a seamless gaming experience.
Due to its low-specs requirement and open-world appeal, it’s a game that everyone across the world loves. It also depends on your system’s operating system. However, the players of Minecraft can get very creative. As a result, you might come across many maps heavily built with extensive use of blocks. Hence, it would require more RAM to work efficiently. More importantly, if you’re playing a different mod, it will take a toll on your system.
In these cases, it could become very challenging to play the game efficiently. You will find lag and slack in FPS. Apart from lag, the interface might start responding slow and even crash if the RAM is not sufficient in any manner. You might feel helpless during these instances, but there’s a way for you to Allocate RAM to Minecraft.
Allocation Process:
First, to prepare for the process, make sure that the Minecraft launcher you use is up to date. Check for game updates, as well. It’s better to do it before you begin the process to prevent any form of problem.
Next, make sure that you have extra RAM to use. If you don’t have RAM, there’s no point in following up on this procedure. This general rule of thumb is to save a minimum of 1 GB of RAM for your system’s other process. This could take a significant toll on the system, but worth the trade as Minecraft won’t ever use a complete RAM.
Well, if you have 4 GB RAM, you should use 3 GB for Minecraft at best. Suppose it’s 8 GB RAM, then 7 GB (or six if you want to save more RAM). As mentioned Previous, Minecraft’s standard RAM consumption is 2GB, so even if you allocate it 6 GB RAM, this will have three times more RAM.
The Standard Client Method:
If you’re using Minecraft’s launcher, then you have to do some coding. But don’t you worry! It’s not something extensive at all! Almost anyone can do it quickly. You need to do is change a single thing. So let’s take a quick look at how:
Step 1: Go to Minecraft launcher, and if you have more than one version or mode, you’d have to select that specific version you want to allocate the RAM to. You can do it for all of the versions or modes you have.
Step 2: Make sure to go to Installations and select the version you want. There, you will see an option on the top right corner to play or a setting option (three dots). Click on the setting, and from there, you will get a drop down menu to select the Edit.
Step 3: Well, A new window will open up, and you can scroll down to find JVM arguments. In that JVM arguments box, you will see a lot of random texts and alphabets. Now, You have to focus on this ‘-Xmx2G-‘which is the memory allocation code for your Minecraft launcher.
Step 4: Now, the ‘2’ is the amount of RAM it will consume. So, You can directly change it to 3, 4, 6, or anything you like.
Step 5: Be careful and don’t edit anything else. Double-check if you have to, and then click on Save.
Step 6: Sometimes, it’s about profiles, and this might become a different profile. So before launching the game, double-check to ensure you have selected the right shape to launch and play the same.
ATLauncher Customization:
It’s easier to use ATLauncher to customize the memory allocation. Thus, you have to do is open the ATLauncher and go to settings.
Step #1: There, you will find JAVA Minecraft Tab. It’s located on the start menu, so click on it.
Step #2: From there, you can easily find ‘Maximum Memory/RAM’ and the values in front of it.
Step #3: Now, you can type manually or use the arrows to increase or decrease the RAM consumption.
Step #4: Make sure to save, and you’re good to go.
That’s all you need to do. The same process you can do on Technic Launcher as well.
Follow for Other Launchers:
Almost all other launchers like Twitch launcher and such showcase ‘Allocated Memory’ in the settings. You can access the settings easily. If you don’t find the allocated memory there, then you can go to JAVA settings in them. Some launches might have ‘Minecraft’ in the setting for you to change.
Either way, the process is the same. You go to memory allocation and increase or decrease the RAM and then save the settings.
Also, Check :
Final Words:
RAM is the primary determinant of the game’s performance to play it effectively. You don’t have to worry about GPU or other requirements. If you’re playing online in an open-world, then you would need optimum connection speed, and that’s all.
Now you know how to more Allocate RAM to Minecraft. You can even allocate complete RAM. It’s not like Minecraft will use maximum RAM output all the time. However, it’s always better to remember the general rule and spare 1 GB of RAM for other tasks and processes.
Remember, these processes are for standard Minecraft games and launchers. Primarily, you can use them efficiently on a PC. If you have other devices like the android platform, it probably uses an individual Minecraft launcher and can follow the same process. So enjoy Allocate RAM to Minecraft without any lag or decline in performance. Have fun and share the wisdom!


