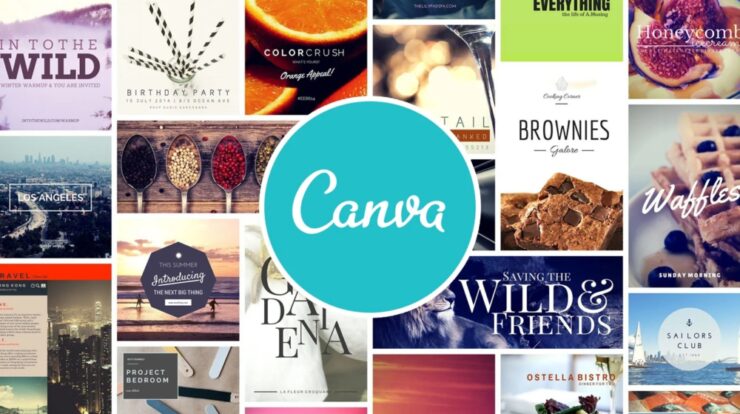
Make A Picture Round In Canva: You might be asking how to change the shape of your images if you’ve been using Canva for a long. However, finding certain functionality on the editing platform can be challenging. But don’t be concerned. We are here to assist you. In this article, we’ll show you how to change the shape of a photo in Canva, as well as how to resize it and create a template.
How To Easily Crop A Picture In Canva?
Follow the steps below to resize your image in the Canva app:
1 – Go to Canva.com and sign in or log an account.
2 – Click the + sign in the upper left corner on the main page and choose “Edit photo.”
3 – Select a photo from your device’s gallery.
4 – After the upload, select “Edit image.”
5 – Find the “…” button above the photo and click it. Pick the button and then click “Crop.”
6 – Click the dot in one of the image corners and drag the frame around until you’re satisfied with the size and position.
7 – Select the “Check icon” to the right of the image.
8 – Pick “Save” or continue editing your photo.
How To Easily Make A Picture Round In Canva?
To reshape your image into a circle, do the following:
1 – Go to Canva.com and sign in or log an account.
2 – On the main page, choose the preferred template.
3 – Select a photo from your gallery or one from Canva’s suggestions.
4 – From the left sidebar, choose “Elements” and “Frames.” To see more options, click “All.”
5 – Choose one of the circle frames.
6 – Drag the image over the frame after adding the shape to your template. The image will automatically acquire the shape of the frame.
7 – To change the size of the frame, click and drag one of the four dots in the corners.
8 – When satisfied with the outcome, click the “Done” button.
9 – Pick “Save” or continue editing your photo.
How To Easily Make A Picture Round In Canva On Mobile?
If you want to edit your photos while on the go, using a mobile device is similar to editing a photo on a desktop.
1 – Launch Canva and click the + icon in the bottom left corner.
2 – To set the size, choose one of the templates or press “Custom dimensions.”
3 – Pick a photo from your gallery or upload one from your computer.
4 – Tap the image, then the + icon in the lower left corner.
5 – Choose a frame and drag the image into it.
6 – Next, resize the frame to your liking.
7 – Pick “Save” or continue editing.
FAQs:
How To Easily Create A Grid In Canva?
Grids aid in the creation of stunning collages. Canva has several pre-designed grid templates, but you may create a custom grid by following the steps below:
1 – Choose the “Photo collage” template on the main page.
2 – To personalize it, choose a suggested grid or click “Create blank.”
3 – Pick images from the pre-uploaded gallery by clicking “Photos.”
4 – Select “Uploads,” then “Upload media,” to pick images from your device.
5 – Drag images into the desired position.
6 – To resize the images, click and drag the dots in the corners.
7 – If necessary, crop the images using the same dots in the corners, then click “Done.”
8 – To color the grid, click on the grid cell, then the rainbow color tile. Choose a color.
9 – In the toolbar, click “Spacing” to adjust the grid spacing. Shift the slider.
How To Easily Create A Template In Canva For Free?
Templates facilitate the editing process. Follow these steps to create a custom template in Canva’s free version:
1 – Choose the “Create a design” button on the main page.
2 – Set a template from the suggested options or enter your dimensions.
3 – Upload an image from the gallery or one of Canva’s suggested selections.
4 – Add elements that will display on every photo using the sidebar template.
5 – Drag, resize, and change the color of the elements to your satisfaction.
6 – If desired, upload more images. Adjust.
7 – On the right, select the “Duplicate page” icon.
8 – Now, edit the duplicated image.
9 – Choose the number and format of the image you wish to download, then click “Download.”
How To Easily Create A Template In Canva For Work?
Canva provides the option of designing a custom template. This is especially beneficial for work, as you can instantly add a brand logo and website URL to each image. When you’ve created a template you like, you may share it with your team and use it repeatedly.
1 – Sign up for Canva for Work to access the feature (30-day free trial).
2 – From the sidebar, choose “Brand Kit.”
3 – Click the “Create a Design” button, choose a size from the suggested options, or enter custom dimensions.
4 – To rename the document, click on its title.
5 – Select a photo from your gallery or upload one from your computer.
6 – Choose any elements you wish to display on every picture created using the template from the sidebar.
7 – Now, Drag and resize the elements.
8 – Upload more elements from your device, such as a logo.
9 – When you’re happy with the output, flip the “Make Public” toggle button in the top right corner to enable or deactivate the option.
10 – Choose “Publish as a Template.”
11 – Pick “Save.”
How To Easily Upload My Canva Photo To WordPress?
WordPress is well-known for its numerous plugins and content personalization capabilities. However, you must install the Canva plugin for WordPress before you can upload an image modified in Canva to your WordPress website. It may be downloaded from the WordPress website or found in the plugin admin.
Then select or create a template. You may create a post that will look fantastic both on your website and when shared on social media by selecting the “Facebook ad” option. Upload an image next. You can use one of the suggested presets or create an entirely new design. Add and adjust any elements from the sidebar. Upload a backdrop image and add a filter if desired. Add text and format it as desired.
When satisfied with the outcome, click the “Download” button in the top right corner. Next, click a file format and press the green “Download” button again. Finally, upload the file to your WordPress site. The image must then be optimized.
Why Am I Unable To Save Changes To My Canva Photo?
There are many reasons why your Canva image changes do not save.
1 – Ensure your browser has been updated to the most recent version.
2 – Examine your internet connection. Changes made in Canva will not be saved offline.
3 – Check the progress bar at the editor’s top for the “All changes saved” sign. Canva automatically saves changes every several seconds.
4 – Manually save the design. In the editor’s menu bar, click “Save.”
Conclusion: Make A Picture Round In Canva
The Canva is a fantastic app that can be used for both personal and business purposes. Custom templates can save you time and make your work more enjoyable. Canva outperforms expectations for a photo editing app with the sharing option and the WordPress plugin. We hope this article has helped you resize and reshape your image in Canva. Or you got even more inventive and chose to make a collage. Share your Canva image editing tips in the comments area below.


