
The Sticky Note app is a simple method to take notes on your Windows PC. When you use Sticky Notes, you won’t have to go for a pen and paper to jot down crucial information. And, unlike traditional paper Post-it Notes, they cannot be lost or misplaced. This post will go through how to make a Sticky Note in Windows and what you can do with it.
How To Easily Create A Sticky Note On A Windows PC?
Sticky Notes is incorporated into Windows 10, so downloading the app is unnecessary. Instead, with a few mouse clicks, you may rapidly take notes without cluttering up your desk with messy papers that are easily lost. This is how you open the app.
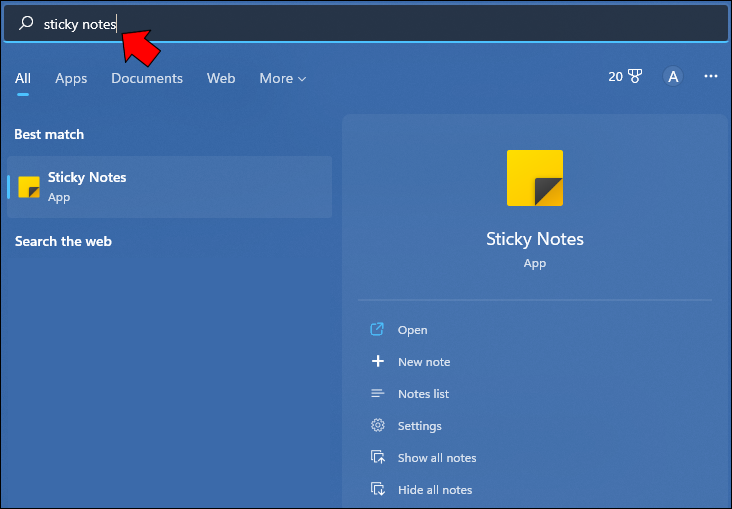
1 – Click the “Start” button.

2 – Write “Sticky Notes” in the text field and press the enter key.
3 – Select “Sticky Notes.”
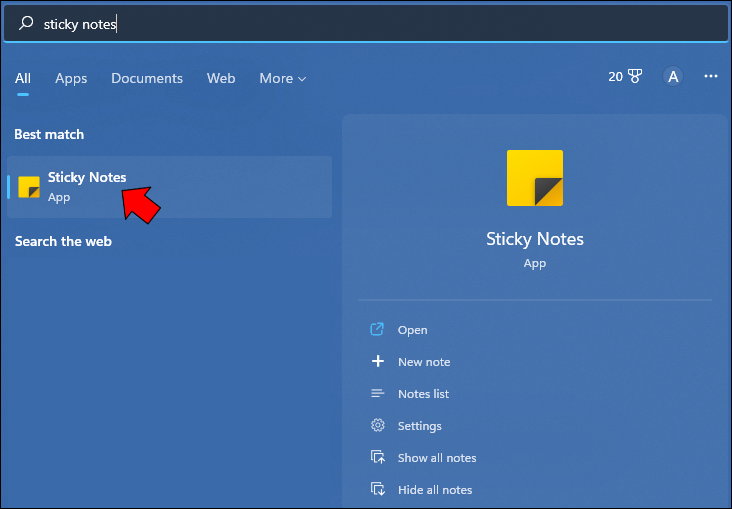
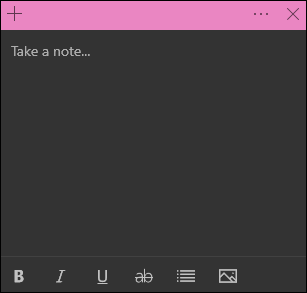
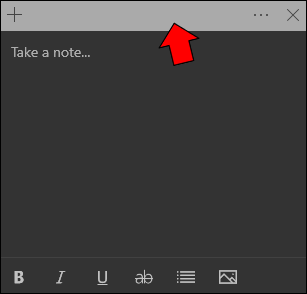
4 – The app will start and open with one blank Note.
That’s the end of it. You may now type in whatever you want while the app is open and have a persistent, easy-to-find record.
How To Easily Use The Sticky Notes App?
You may be wondering what you can do with the app now that you know how to discover and launch it. Although it appears to be a simple app at first glance, it has numerous ingenious features. It is capable of more than merely displaying typed words.
Format Text
You are not required to use plain text. Sticky Notes has several various text formatting options. These are located at the very bottom of the Sticky Note. Select the formatted text and tap or click the formatting option. In addition, there are several keyboard shortcuts for those who like them.
1 – Bold: Control + B
2 – Italics: Control + I
3 – Underline: Control + U

4 – Strikethrough: Control + T

5 – Bulleted Text: Control + Shift + L
Add Images
Sticky Notes allows you to include images and photos in the same Note as the text. This might be handy for adding notes to an image. This is how you do it.
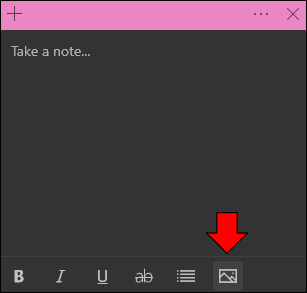
1 – With a Sticky Note open, select the “Image” icon at the bottom of the Note.
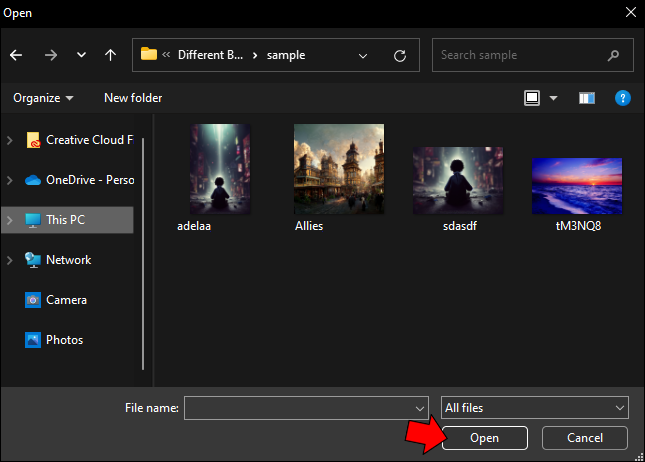
2 – Go to the location of the photo you wish to use.
3 – Click the “Open” button to add the image to the Note.
The image will now be shown inside the Note. Unfortunately, you cannot change the image’s size within the Note. However, you may expand the entire Note size by clicking and dragging the Note’s corner. This will make the size of the image. Follow the steps above to add several images to a Note. To see more than one image in a Note, double-click it to show the one behind it.
Delete Images
Here’s how to delete an image or photo you’ve put to a Sticky Note if you decide not to use it.
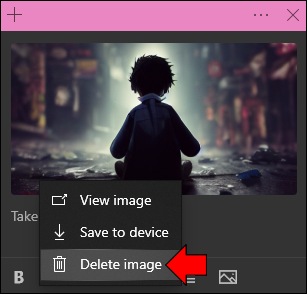
1 – Choose “Delete image” from the context menu when you right-click on the image.
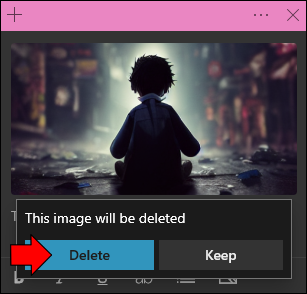
2 – To confirm, select “Delete.”
Change Background Color
You are not limited to the Sticky Note’s preset background color. Also, you can change the color to help you better organize your ideas. For example, you may use the different color options to select a backdrop color for To-Do lists and another for random thoughts. Follow these steps to do this.
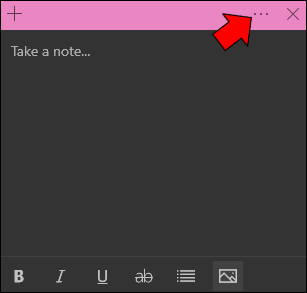
1 – Select the three dots to symbol in the upper-right corner of a Note.
2 – You’ll be able to choose from seven different hues.
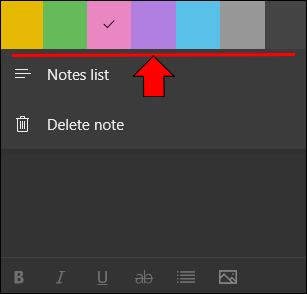
3 – Tap on the one whose background color you wish to change.
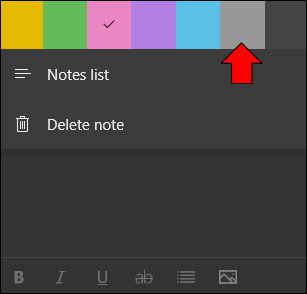
4 – The background of your Note will change instantaneously.
Sync Sticky Notes To The Cloud
You can sync your Sticky Notes if you use the cloud. This capability is useful if you work on various devices linked to the cloud. By synchronizing your Notes, you’ll have access to them on all your cloud-connected devices. If you’re interested, here’s what you’ll need to do.
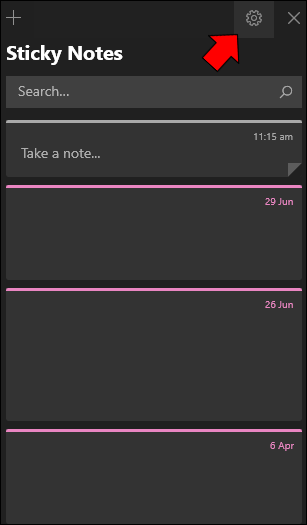
1 – Open the Sticky Notes app and click the gear button in the upper-right corner.
2 – Select the blue “Sign in” button.
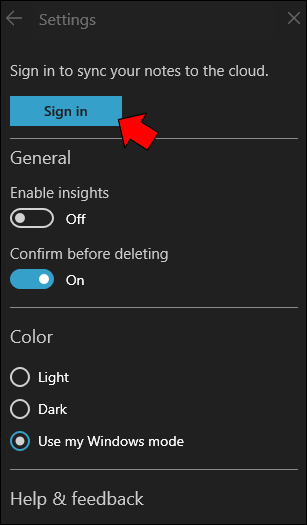
3 – Choose the account you wish to sync and press the “Continue” button.
4 – Your Sticky Notes have now been linked to your chosen account.
Stop Wasting Paper And Start Using Sticky Notes Instead
When you have a brilliant idea, use the Sticky Notes app instead of looking for a pen and paper. These, unlike paper counterparts, cannot be lost, and you may sync them to your cloud account for access on linked devices. In addition, the app supports text formatting as well as the insertion of numerous images. You may also change the background color to aid with information categorizing.
Have you ever made a Sticky Note on Windows? Did you follow the steps mentioned in this article? Please share your thoughts in the comments box below.


