While the VR Oculus Quest 2 is the best device all on its own, it has its limitations, primarily due to limited processing power & graphics options. Well, To bypass this, you can connect it to a PC and take advantage of its hardware instead! There are two steps to do this – via a cable and via a wireless connection. Here is how to use both those ways!
Oculus Quest 2 Connect via Cable
First, To connect your headset to your computer, you will need to use Oculus Link. Naturally, you will need a cable – you can either get the official Oculus Link cable, or you can utilize another USB 3 cable with a USB C connector you may have.
So, Before you plug the headset into your computer, you will need to install the Oculus app on your computer. It would be best if you did so. Click on the ‘Download Software’ button on this site: https://www.oculus.com/setup/.
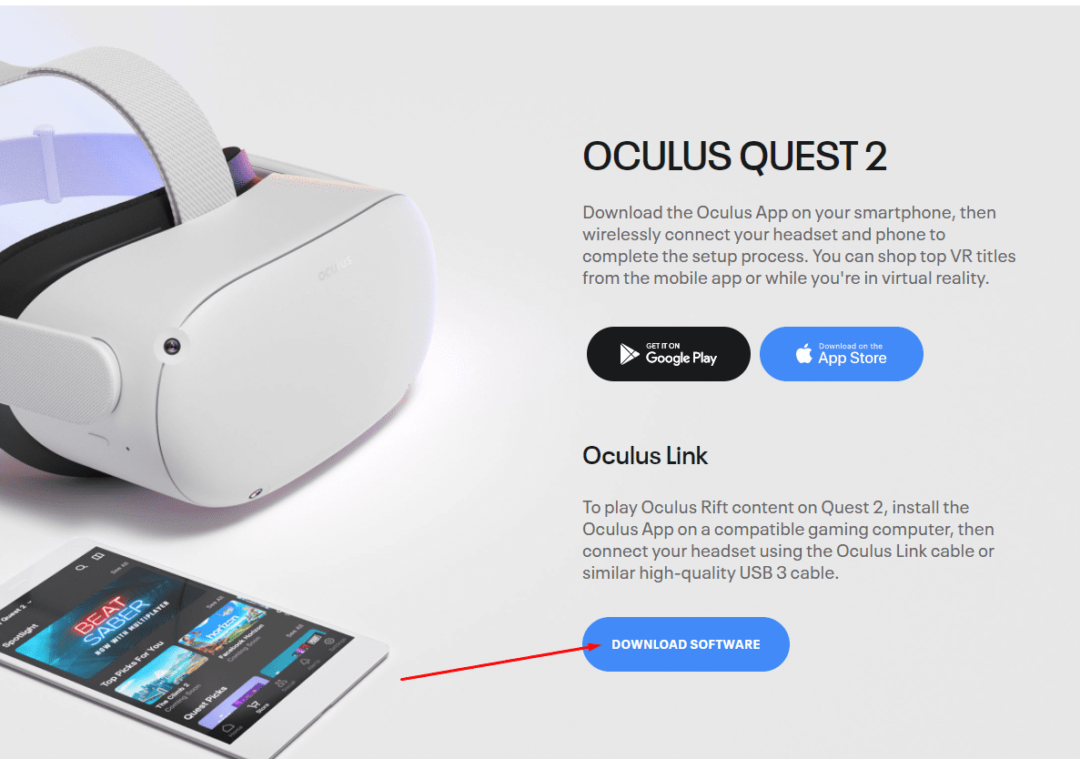
Download the Oculus app
Once you have successfully installed the app, log into it. Well, Make sure it’s open before you try to connect your headset to your computer to avoid compatibility issues.

The Oculus app on PC
With the application open and logged in, you can plug your headset in via your USB cable.
Tips: Make sure your cable is long enough to allow you to sit/move comfortably when you play. Well, Be sure not suddenly to yank on the cable – you could damage it, your PC, or your headset!
You will be prompted to pick whether or not you want to activate Oculus Link. Now, Select Activate and wait until the Link environment has loaded. Here, You can now access your Desktop directly via the central menu bar (the little monitor icon) and launch things like Steam VR and other VR games you have installed on your computer.
So, To quit out of the Oculus Link mode, use the menu bar again – it’s the far-left option.

The Oculus Link menu bar
Oculus Quest 2 Connect via Wireless
First off, the VR Oculus Quest 2 heavily recommends that you use a 5Ghz connection for this. Well, We agree – while you can do it on weaker/slower connections, the results will be a bit disappointing. You will end up with the lag, screen-tearing, and possibly even some motion sickness caused by all this.
This said, the easiest way to connect to your PC wirelessly is to utilize the Virtual Desktop application combined with the SideQuest patch. Well, SideQuest is a program for your PC that allows you to add non-Oculus store software to your device.
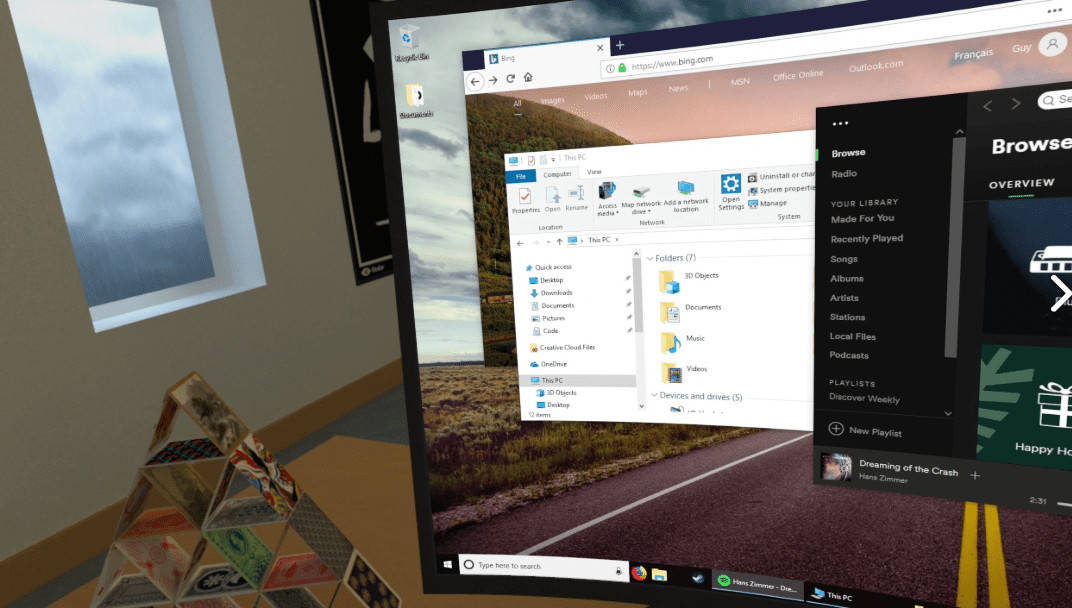
One of the several views of a desktop setup inside of Virtual Desktop
Virtual Desktop is an application you can buy in the store – by default, it gives you access to your computer desktop via a cabled connection. Because that’s not what we want here, make sure to download that app and install SideQuest on your PC.
You can get a great guide on how to do so here on SideQuest’s download page: https://sidequestvr.com/setup-howto.
When you have done that, you will need to connect the PC and headset via cable once. So, Download the Virtual Desktop patch from the SideQuest store.

This Virtual Desktop patch on SideQuest
The patch is free, so don’t worry about paying anything extra. It’s also worth noting that Virtual Desktop and the patch were both created by the same person – a single developer. In other words, you don’t even need to worry about compatibility issues, etc.
Download and install the patch on your headset via SideQuest and wait for the process to finish. When it has, you’ll also want to download the Virtual Desktop streamer app on your PC. Your headset must be able to connect to your computer.
This is the official page where you can find it: https://www.vrdesktop.net. You can also find some additional help and advice on both wired and wireless connections here. If you have problems with the Virtual Desktop software, this is the place to go.
Launch the app on your PC after you’ve installed it (and ideally set it to launch on start-up, so you don’t have to start it up every time manually), and you’re good to go.
Tips: For quality reasons, playing PC-based VR games will probably be better via cable. Like you have a top-of-the-line Internet connection, you’re likely to experience some issues with visually intense games.
Also, Check :
Final Words:
So, After this somewhat lengthy prep work, wirelessly connecting your VR Oculus Quest 2 to your headset is very as easy as putting it on, launching the application in question, and sitting back during the connection is established. Well, You can then use the Virtual Desktop app to control your Desktop and even play Steam games wirelessly! Share your thoughts in the comments.


